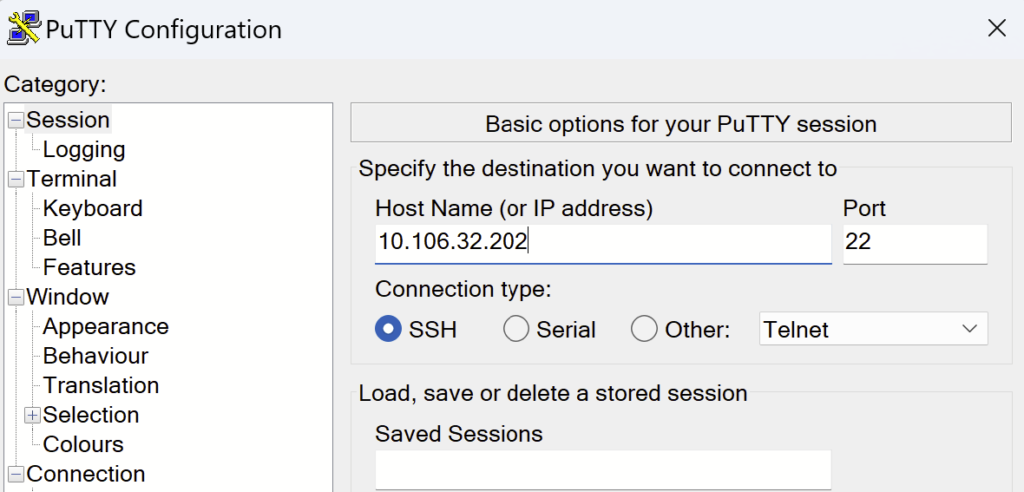
SSH is secure way to access a Cisco router or switch over an IP network. It does encryption of the traffic using RSA key pairs whereas telnet sends the traffic in plain text over network. In case of telnet entered username or password can be seen easily by anyone who is capturing the traffic. We need to perform few steps on device to enable ssh. In this post we will learn how to enable SSH on Cisco IOS Device – Router or Switch by following 7 simple steps.
For this example we are going to use local username and password to login into the device. However the device can be integrated with TACACS+ server to perform central authentication.
Step 1> Take console access of the device.
Step 2> Give a hostname to the device.
Router#
Router#configure terminal
Enter configuration commands, one per line.  End with CNTL/Z.
Router(config)#hostname R1
R1(config)#
Step 3> In order to create crypto key which are used for SSH we need to give a domain name
R1(config)#
R1(config)#ip domain name clicksolution.org
R1(config)#
Step 4> Generate RSA key used by device for SSH
R1#
R1#crypto key generate rsa modulus 2048
The name for the keys will be: R1.clicksolution.org

% The key modulus size is 2048 bits

% Generating crypto RSA keys in background ...

R1#
Step 5> Now we need to create local credentials which will be needed to login into the device while doing SSH.
R1#configure terminal
Enter configuration commands, one per line.  End with CNTL/Z.
R1(config)#username xxxx password xxxx

Note: Replace XXXX with your desired username and password
Step 6> Enable AAA service and point the authentication to local username and password.
Note once we run the below three commands the device will start asking for username/password for all kind of connection console or SSH
R1(config)#
R1(config)#aaa new-model
R1(config)#aaa authentication login default local none
R1(config)#aaa authentication enable default none
R1(config)#

Note: We are not using enable password in this case.
Step 7> Now try to login to the device once the login is successful then save the configuration on the device.
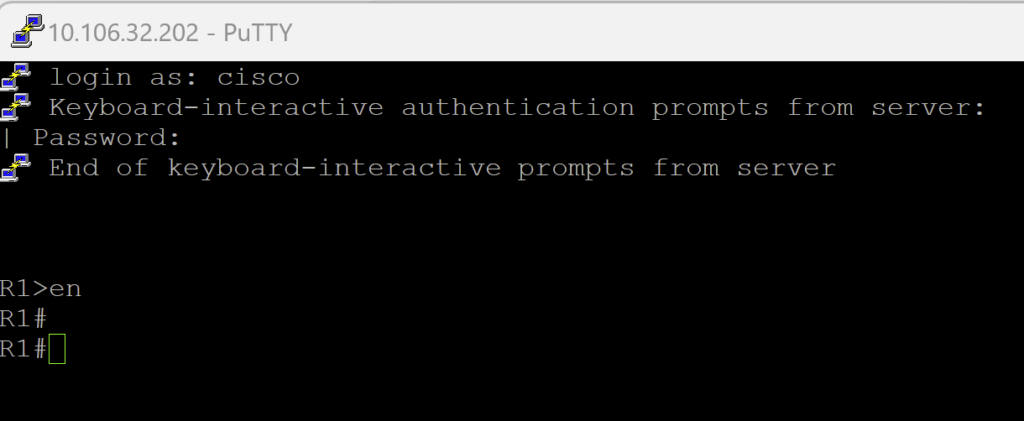
With just above simple steps we have enable SSH Cisco IOS device.